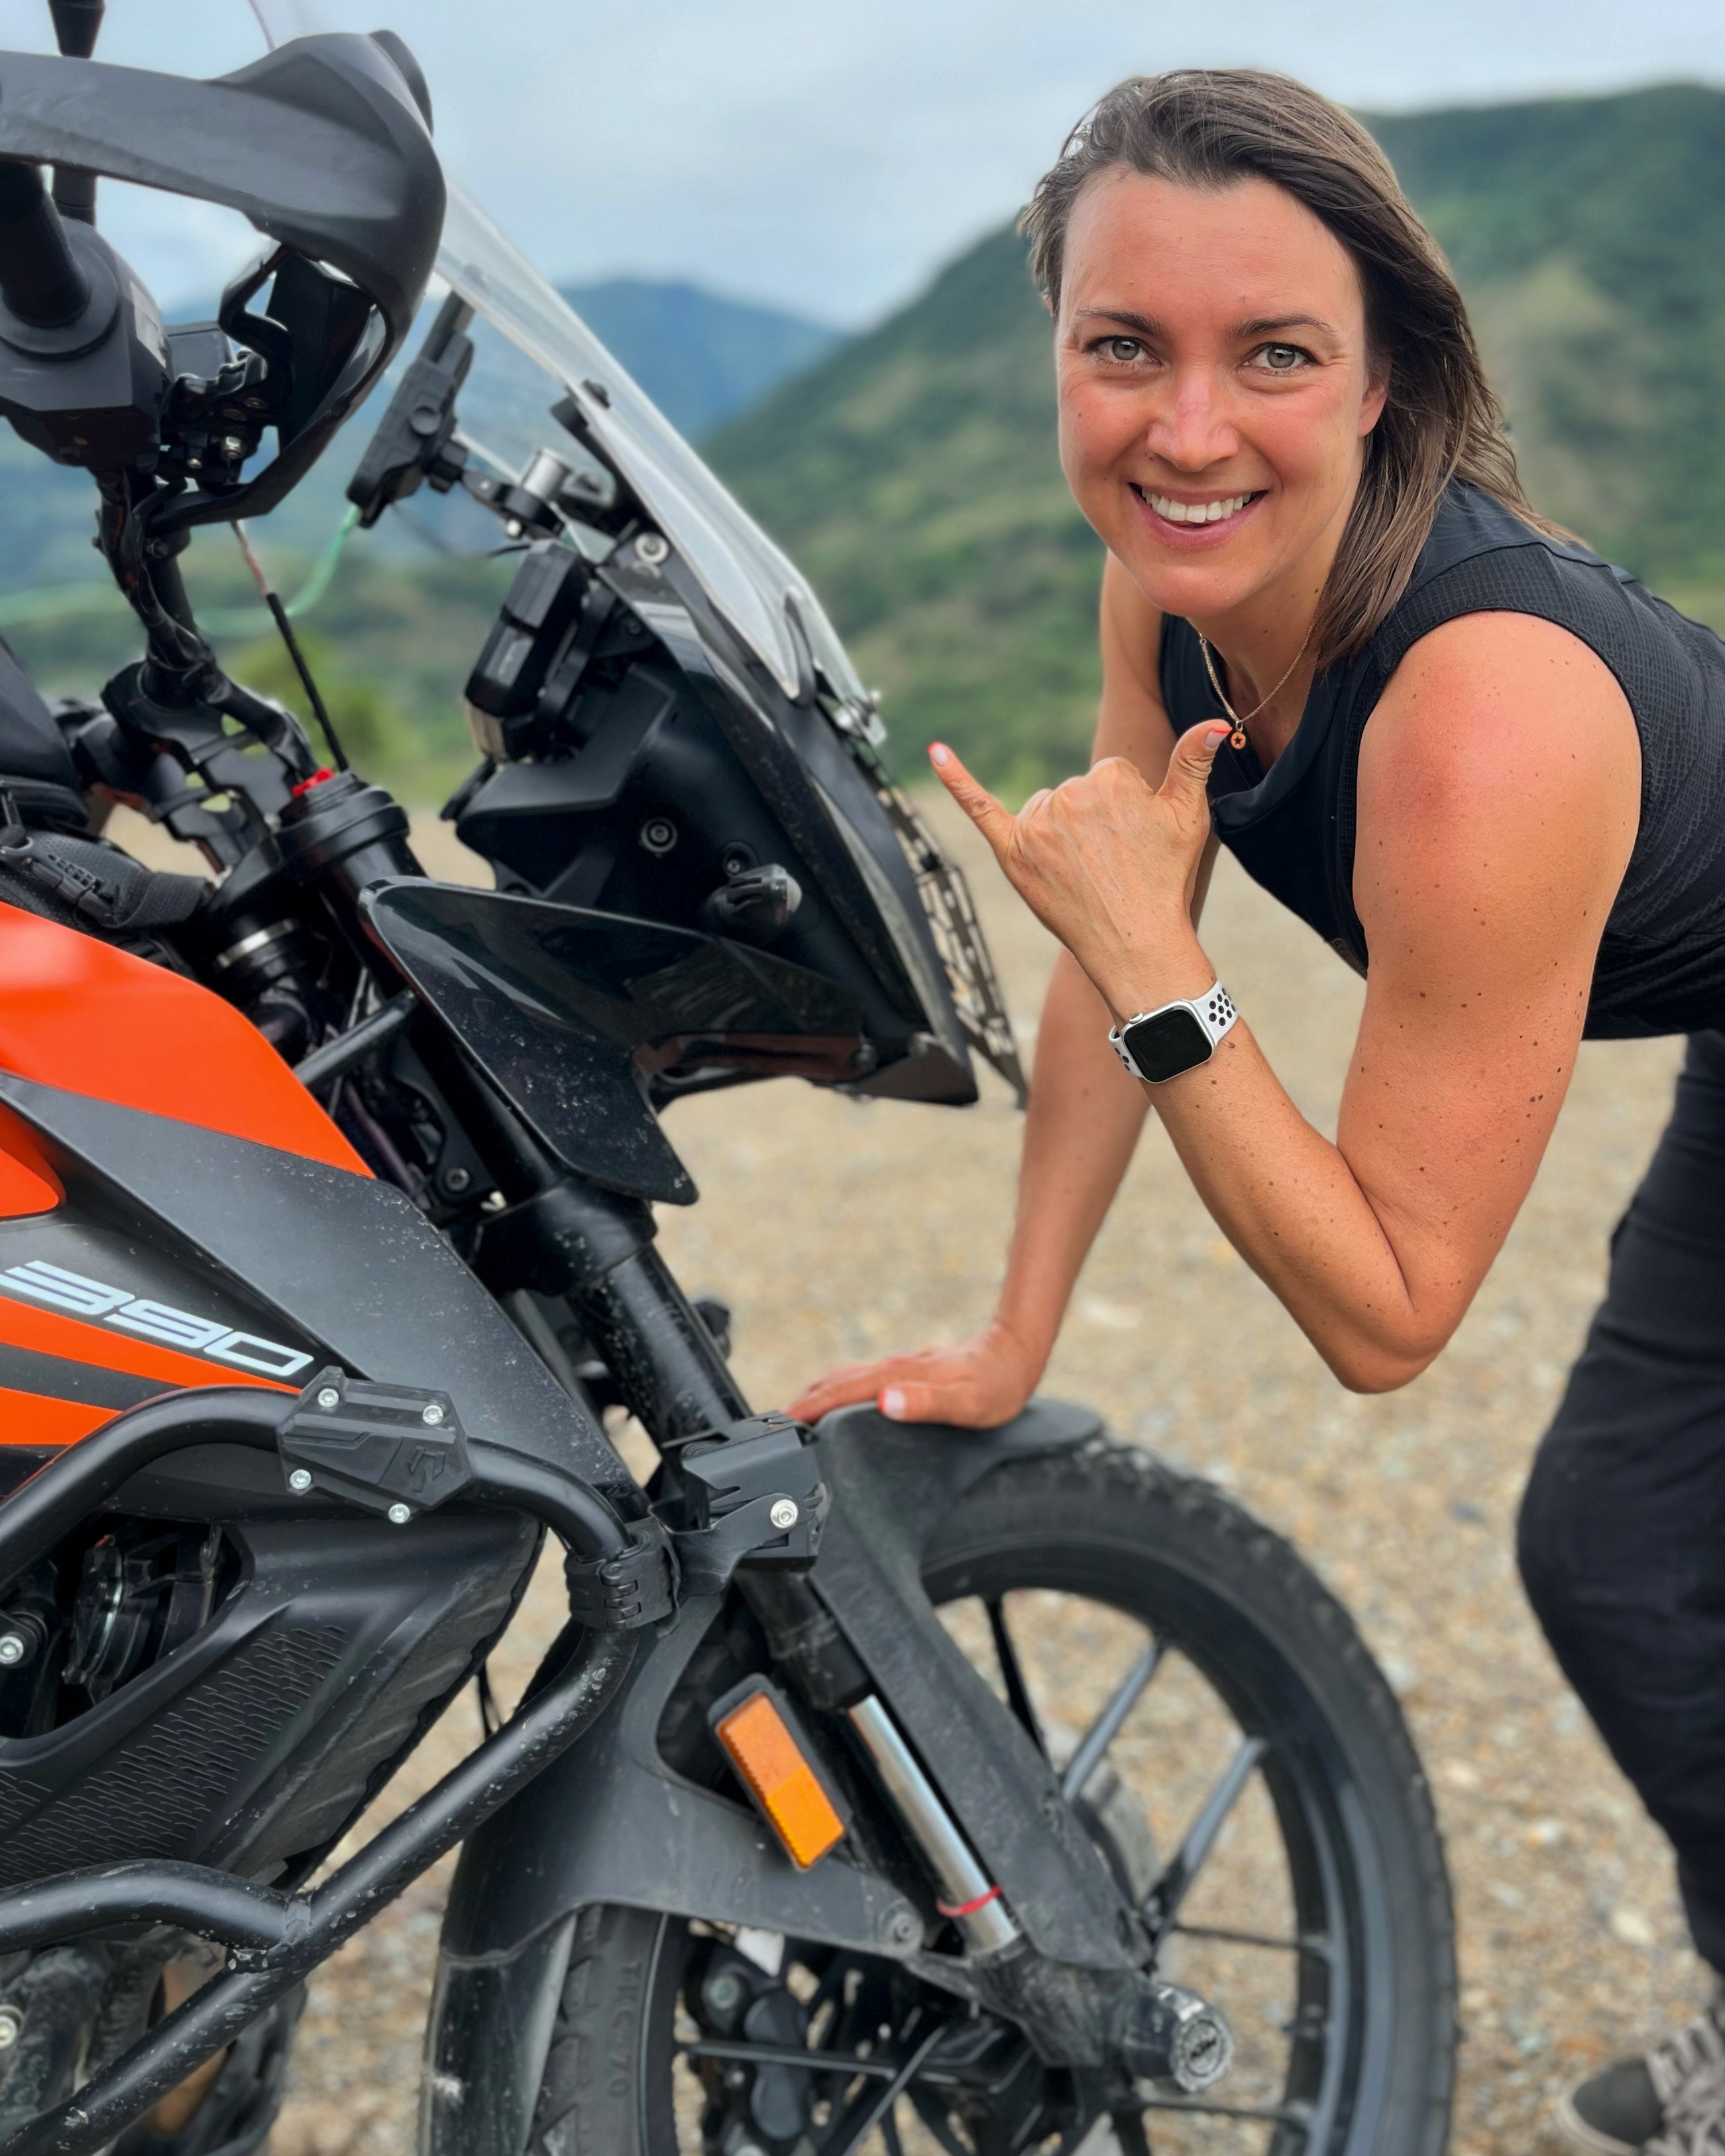
Although it is not too difficult, it took me quite a bit of research plus some time and effort to wrap my head around the whole process and there were a few things that were new to me. So I decided to write down all the steps.
Step 1. Get registered in RUNT (National Registry of Transport).
You need this to be able to register the bike in your name. It can of course be done at a later point in the process, but it doesn’t hurt to do it early on and get it out of the way to be able to focus on the actual purchase.
To get registered you go (yes, physically) to a local office of Transito and tell at the reception that you want to get registered in RUNT. Have your passport and address ready (no proof of address is required). They will also ask for your blood type. Once they fill out the information, you’ll be directed to another booth to pay the registration fee (about 5 USD). Wait a few minutes, and your registrations is done. In my case it took less than half an hour in total.
Step 2. Find a motorcycle.
In Colombia, there are two main platforms to buy any 2nd hand stuff (including vehicles):
Keep an eye on both and once you find something interesting, contact the seller either via WhatsApp or Facebook Messenger.
Among other things, ask the seller for:
- a photo of the odometer (I’ve seen it a few times that the mileage stated in the ad has nothing to do with what you would find on the odometer, so you might as well save yourself some effort and check it early in the process)
- the validity of SOAT* (Seguro Obligatorio de Accidentes de Tránsito): 3rd party liability insurance is obligatory in Colombia (price for motorcycles over 200cc – nearly 200USD/year)
- the validity of RTM* (Revision Tecno Mecanica): a report stating that the vehicle is road-legal is obligatory unless the motorcycle is less than 2 years old (costs about 50USD and is valid for 1 year, can be done at CDA – Centro de Diagnostico Automotor)
- a photo of the “tarjeta de propiedad” aka the ownership card (we’ll need it in Step 4)
- evidence of ownership: there are a lot of stolen motorcycles that circulate on the second hand market, so unless you want to take a risk, I’d be checking the initial factura, bills for revisions/maintenance, if the owner has both keys, etc. You can also play detective and check the owner’s social media – (almost) any motorcycle enthusiast has photos of his beloved vehicle.
*If you ride without having a valid SOAT or RTM, you risk getting caught by the cameras and paying a 150USD fine for each encounter.
Step 3. Check all the registration info.
Check that the motorcycle has no debt or unpaid taxes, no fines, is not engaged in any illegal activities. Check the owner as well. All of this you can do online and free of charge using the following websites:
- RUNT – insert the motorcycle’s number plate to retrieve all the registered info about the motorcycle and check that all of it (including model, VIN number, owner info, validity of SOAT) corresponds to what was communicated by the owner.
- Taxes – check if all the taxes are paid – you wouldn’t be able to register the motorcycle in your name until all the taxes for the current year are paid.
(the taxes URL will be different for different municipalities in Colombia, the one provided is for the municipality of Antioquia) - Fines – check if there are any unpaid fines for the motorcycle you’re about to buy
- Owner’s judical past – inser the the owner’s ID number (numero de cedula) to learn if the seller has been involved in any criminal activity, just for the peace of mind.
One more thing, check the photo of the ownership card (tarjeta de propiedad) that you acquired in step 2. On the back side (which has the fingerprint), make sure that the “Limitación a la propiedad” is blank (has stars). If you see anything else in that field, it indicates that the vehicle cannot be transferred to another person since it is used as collateral for a loan.
If all of the above is good, let’s move on to the exciting part!
Step 4. Go check out the motorcycle.
Check that the VIN number matches the one on the ownership card. Then check whatever you can for signs of wear/repairs: the frame, the forks, the rims, the tires, the chain. You can find detailed videos on how to do it on YouTube. And don’t worry, if you don’t know much – in Colombia, when buying a motorcycle, it’s very common to take it for a mechanical check – see next step. Test ride.
Step 5. El peritaje.
The mechanical check of the motorcycle’s condition during the purchase process. Depending on where you are, you will find either dedicated Peritaje places or Moto repair shops, that offer it as a separate service. The prices range from 20 to 50 USD.
While you’re doing the peritaje, you might just as well get the imprints (“improntas”) done. The imprints of a motorcycle are like the “fingerprints” of VIN and engine numbers, used to identify the vehicle. We will need these in the next step. Make sure all the letters & numbers are clearly readable.
Step 6. Paperwork.
This step and the next one can be done by you personally or a third person/company aka tramitador (this service should cost about 10-20 USD). I will not go into details of how it works as I don’t have personal experience with it.
In my case, the motorcycle was physically in Cali (and that’s where I want to see it) but was registered in Medellin. The registration of the motorcycle in my name had to be done in the same office in Medellin where it was originally registered. Since Medellin is 400 km from Cali, it seemed faster and easier for me to just do all the paperwork myself, and ride the motorcycle to Medellin to get it registered the very same day.
There’s a bit of risk in this process:
- for the buyer: since the motorcycle is still in the seller’s name, theoretically he can sell it once again. In my case it was not very likely, since the owner seemed to be trustworthy, and I had both the motorcycle and all the documents including the ownership card (tarjeta de propiedad). And yet, my mission was to get to Medellin as soon as possible and get the motorcycle registered in my name.
- for the seller: any speeding fines you get while the motorcycle is in the seller’s name, he will be responsible for paying them. So it requires quite a lot of trust from his side as well.
Now, the paperwork. Here are the documents that have to be filled out and notarized:
- Formulario de solicitud de Trámite del Registro Nacional Automotor. This is a standard form, that you should print out or buy from a local stationer’s shop. It includes basic info about the vehicle, the seller and the buyer. Put the imprints on the back side.
- Contrato de compraventa. Contract between you and the seller. Doesn’t have a specific format but should include the basic info about the seller, buyer and the vehicle. There are plenty of templates online, just search for “contrato de compraventa de moto”.
- Contrato de mandato. This one will be needed if the seller won’t be present during the registration process. It’s a standard form that gives a third person (in my case, me) the right to do the registration without the seller being present. Includes basic info about the seller, buyer, the mandatary, and the vehicle to be registered.
If the seller won’t be present during the registration process, get a photocopy of his ID.
Remember to notarize the paperwork.
Step 7. El transito.
You head to the Transito office, where the motorcycle is registered. This is a pretty straightforward but tedious part, where you take the documents to one booth, let them copy the data, wait, go to another booth, wait, go to another booth to pay for the registration. The amount to be paid consists of: 1% of the motorcycle’s price (paid by the seller) + some fees (about 40 USD in my case, these are usually split equally between the seller and the buyer).
Once you’ve paid the fees, wait a little bit more to receive your new “tarjeta de propiedad” (ownership card).
Congratulations! Now you’re officially the owner of the motorcycle!

As you can see, the process is not so complicated but there are quite a few things to remember. Hope you will find this information helpful! Let me know in the comments, if you’ve got anything to add or if you have any questions.
Happy motorcycle shopping and ride safe!
Remember to subscribe to my YouTube and Instagram, they have tons of both useful and entertaining information.

 Buying a 2nd hand motorcycle in Colombia, in 7 simple steps.